Hello! I'm back to share the projects Jax made using his bleeding tissue paper watercolor backgrounds! He had so much fun creating a set of four cards. We sent them out to his Grandparents. I'm sure they're going to love them!
Jax loves to use the Big Shot to cut out shapes, so I thought we would break it out for today's project! We used some basic heart shaped dies and fun foam that has adhesive on the back to make some easy DIY stickers. The sandwich was super thick, so I had to help him crank the handle, but he LOVES seeing the shapes all cut out! We also cut out a few "hello" foam words using a painted style die from Simon Says Stamp to use as the sentiment - these were stickers, too! The thick foam made these stickers easy for his little 2-year-old hands to handle!

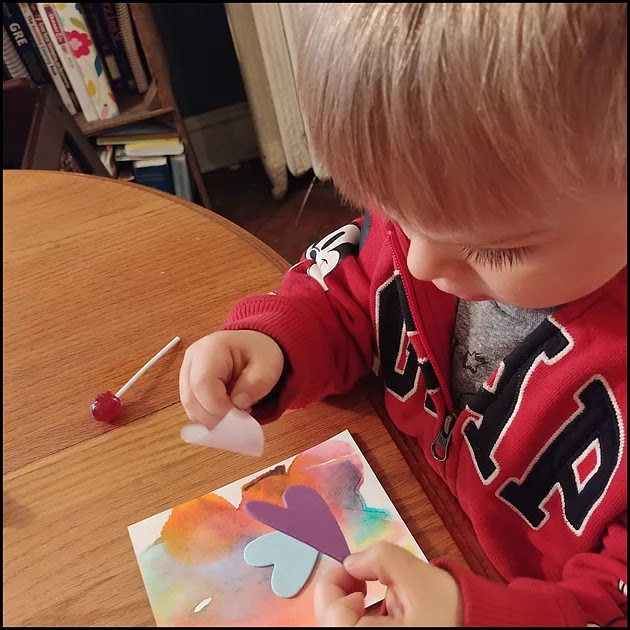
We cut out a whole pile of hearts of all kinds of sizes and I let him go to town! He put some on top of each other, but for the most part he put them next to each other. I didn't worry if some were hanging off the sides - I trimmed off the excess later. And of course he had to have a lollipop because you can't craft without a snack! Haha!!

He loved making these and I love having him express himself through art! These projects would be super easy for you to make at home! And if you don't have the exact supplies - don't worry! Use what you have! You don't need bleeding tissue paper - you could substitute regular watercolors! If you don't have a die cut machine to cut your own shapes you can use scissors to create custom shapes! Or there are plenty pre-cut shapes available to purchase at any craft store. And this project can be made on a larger scale if you want to hang an art piece on your wall!
Comments
Post a Comment